Dies ist eine alte Version des Dokuments!
Odoo13 auf Ubuntu 20.04 mit IPV6 und Let's Encrypt
![]()
Installation
Als erstes installiert man sich einen Ubuntu Server 20.04. Alles Standard. Nun richten wir zusätzliche Paketquellen ein.
apt-key adv --recv-keys --keyserver keyserver.ubuntu.com 2FAB19E7CCB7F415
wget -O - https://nightly.odoo.com/odoo.key | sudo apt-key add -
echo "deb http://nightly.odoo.com/13.0/nightly/deb/ ./" | sudo tee /etc/apt/sources.list.d/odoo.list
echo "deb http://apt.iteas.at/iteas focal main" > /etc/apt/sources.list.d/iteas.list
apt update
Darin installieren wir zuerst den Postgresql Server und ein paar nützliche Abhängigkeiten.
apt install postgresql postgresql-client python3-ldap wkhtmltox python-dev libldap2-dev libsasl2-dev libssl-dev -y
Hat das geklappt gehts auch schon and die Odoo Installation.
apt install odoo
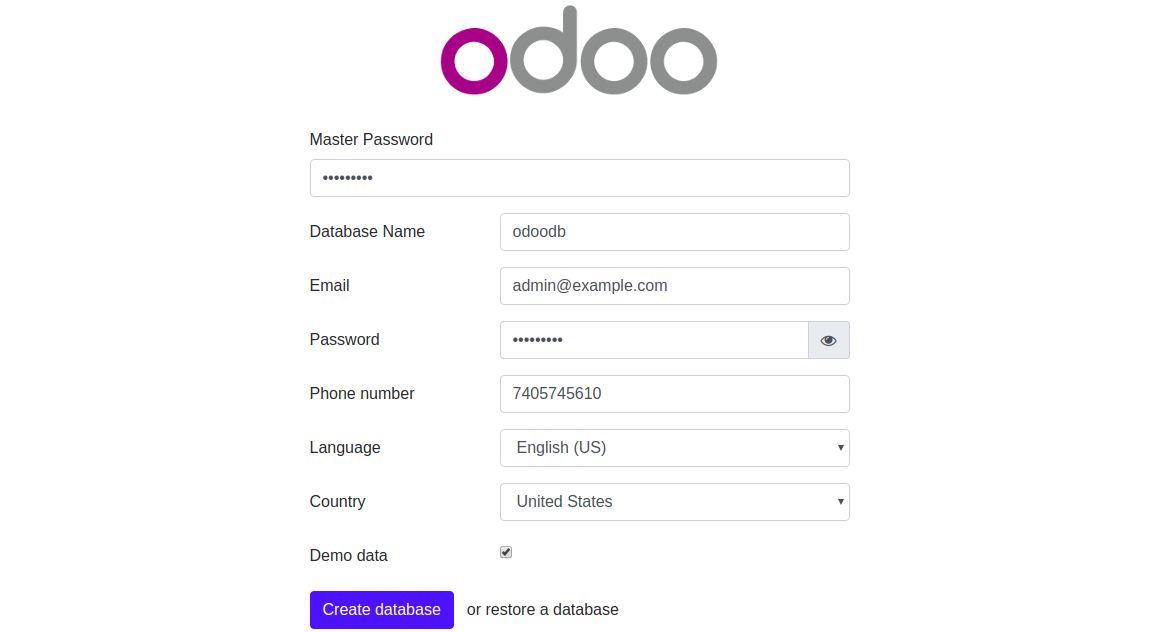
Danach ist Odoo bereits auf der Seite http://erp.deinServer.foo:8069/ erreichbar, und du kannst dir eine neue Datenbank anlegen.
IPV6 für Odoo aktivieren
Hierfür editierst du einfach die Datei /etc/odoo/odoo.conf, und änderst folgendes:
- http_interface =
+ http_interface = ::
Und Odoo neustarten. systemctl restart odoo.service. Und schon ist dein Odoo IPV6 fähig.
Nginx Proxy mit Let's Encrypt
Selbstverständlich willst du das dein Odoo verschlüsselt kommuniziert, richtig? Immerhin soll ja nicht jeder deine Daten mit lesen können ;)
apt -y install nginx
nano /etc/nginx/conf.d/odoo.conf
# Odoo Upstreams
upstream erp.deinServer.foo {
 server [::1]:8069;
}

server {
    listen 80;
    listen [::]:80;
    server_name erp.deinServer.foo;
    access_log /var/log/nginx/odoo_access.log;
    error_log /var/log/nginx/odoo_error.log;


    # Proxy settings
    proxy_read_timeout 720s;
    proxy_connect_timeout 720s;
    proxy_send_timeout 720s;
    proxy_set_header X-Forwarded-Host $host;
    proxy_set_header X-Forwarded-For $proxy_add_x_forwarded_for;
    proxy_set_header X-Forwarded-Proto $scheme;
    proxy_set_header X-Real-IP $remote_addr;

    # Request for root domain
    location / {
       proxy_redirect off;
       proxy_pass http://erp.deinServer.foo;
    }

    # Cache static files
    location ~* /web/static/ {
        proxy_cache_valid 200 90m;
        proxy_buffering on;
        expires 864000;
        proxy_pass http://erp.deinServer.foo;
    }

    # Gzip
    gzip_types text/css text/less text/plain text/xml application/xml application/json application/javascript;
    gzip on;
}
Nun ist das Portforwarding für HTTP und HTTPS auf den Server frei zu schalten. Du wirst vermutlich eine extra Hardwarefirewall hier für verwenden. Als nächstes installieren wir Certbot und holen uns ein frisches Zertifikat von Let's Encrypt.
apt install certbot -y
systemctl stop nginx
export DOMAIN="erp.deinServer.foo"
export EMAIL="myemail@cdeinServer.foo"
certonly --standalone -d ${DOMAIN} --preferred-challenges http --agree-tos -n -m ${EMAIL} --keep-until-expiring
Ist alles korrekt, sieht der Output so aus:
IMPORTANT NOTES:
 - Congratulations! Your certificate and chain have been saved at:
   /etc/letsencrypt/live/erp.deinServer.foo/fullchain.pem
   Your key file has been saved at:
   /etc/letsencrypt/live/erp.deinServer.foo/privkey.pem
   Your cert will expire on 2020-12-19. To obtain a new or tweaked
   version of this certificate in the future, simply run certbot
   again. To non-interactively renew *all* of your certificates, run
   "certbot renew"
 - Your account credentials have been saved in your Certbot
   configuration directory at /etc/letsencrypt. You should make a
   secure backup of this folder now. This configuration directory will
   also contain certificates and private keys obtained by Certbot so
   making regular backups of this folder is ideal.
 - If you like Certbot, please consider supporting our work by:

   Donating to ISRG / Let's Encrypt:   https://letsencrypt.org/donate
   Donating to EFF:                    https://eff.org/donate-le
Nachdem du das Zertifikat erfolgreich abgeholt hast, erweitern wir die Nginx Konfiguration wie folgt:
# Odoo Upstreams
upstream erp.deinServer.foo {
 server [::1]:8069;
}

server {
    listen 80;
    listen [::]:80;
    server_name erp.deinServer.foo;
    return 301 https://erp.deinServer.foo$request_uri;
}


server {
    listen 443 ssl;
    listen [::]:443 ssl;
    server_name erp.deinServer.foo;
    access_log /var/log/nginx/odoo_access.log;
    error_log /var/log/nginx/odoo_error.log;

    # SSL
    ssl_certificate /etc/letsencrypt/live/erp.deinServer.foo/fullchain.pem;
    ssl_certificate_key /etc/letsencrypt/live/erp.deinServer.foo/privkey.pem;
    ssl_trusted_certificate /etc/letsencrypt/live/erp.deinServer.foo/chain.pem;


    # Proxy settings
    proxy_read_timeout 720s;
    proxy_connect_timeout 720s;
    proxy_send_timeout 720s;
    proxy_set_header X-Forwarded-Host $host;
    proxy_set_header X-Forwarded-For $proxy_add_x_forwarded_for;
    proxy_set_header X-Forwarded-Proto $scheme;
    proxy_set_header X-Real-IP $remote_addr;

    # Request for root domain
    location / {
       proxy_redirect off;
       proxy_pass http://erp.deinServer.foo;
    }

    # Cache static files
    location ~* /web/static/ {
        proxy_cache_valid 200 90m;
        proxy_buffering on;
        expires 864000;
        proxy_pass http://erp.deinServer.foo;
    }

    # Gzip
    gzip_types text/css text/less text/plain text/xml application/xml application/json application/javascript;
    gzip on;
}
Und starten Nginx wieder neu. systemctl restart nginx Nun hat man sein Odoo mit Proxy und neuem SSL Zertifikat. Auf der CMD kann man das Zertifikat jeder Zeit prüfen:
certbot certificates
Cronjob für Let's Encrypt
Damit das ganze auch automatisch passiert, richten wir noch einen wöchentlichen Cronjob ein. nano /etc/cron.weekly/certbot-auto-odoo, mit folgendem Inhalt:
#!/bin/bash
/usr/bin/certbot renew --pre-hook "systemctl stop nginx" --post-hook "systemctl start nginx"
Datei ausführbar machen nicht vergessen ;) chmod +x /etc/cron.weekly/certbot-auto-odoo.
Links und Quellen
![]()
https://computingforgeeks.com/how-to-install-odoo-on-ubuntu-linux/
https://www.vultr.com/docs/installing-odoo-10-community-on-ubuntu-16-04
https://linuxize.com/post/how-to-deploy-odoo-12-on-ubuntu-18-04/
https://linuxize.com/post/secure-nginx-with-let-s-encrypt-on-ubuntu-18-04/
https://www.odoo.com/de_DE/forum/hilfe-1?search=encrypt
https://www.odoo.com/de_DE/forum/hilfe-1/question/where-is-the-folder-well-known-installed-when-using-letsencrypt-module-for-apache2-156380